PNG or WebP for screenshots? Three files compared
See how an interface, a code sample and a gradient change when exported as WebP.
For a screenshot you plan to edit again, keep the PNG original. For an image going on a website, try WebP, then check the smallest text before sharing it.
We made three sample images and exported them through CozyToolkit's image converter. You can inspect and download every result below.
Three files, the same dimensions
We drew an interface with small labels, a code editor with coloured text, and a gradient poster. Each is 1200 × 750 pixels. These are synthetic examples, not screenshots of customer files.
The PNG exports use the browser's PNG encoder. The WebP exports use quality 85, with no resizing or cropping. The table shows the sizes of the saved files.
| Sample | PNG | WebP 85 | Smaller by |
|---|---|---|---|
| Interface | 92,339 | 24,320 | 74% |
| Code & small text | 82,732 | 23,088 | 72% |
| Gradient poster | 976,385 | 16,746 | 98% |
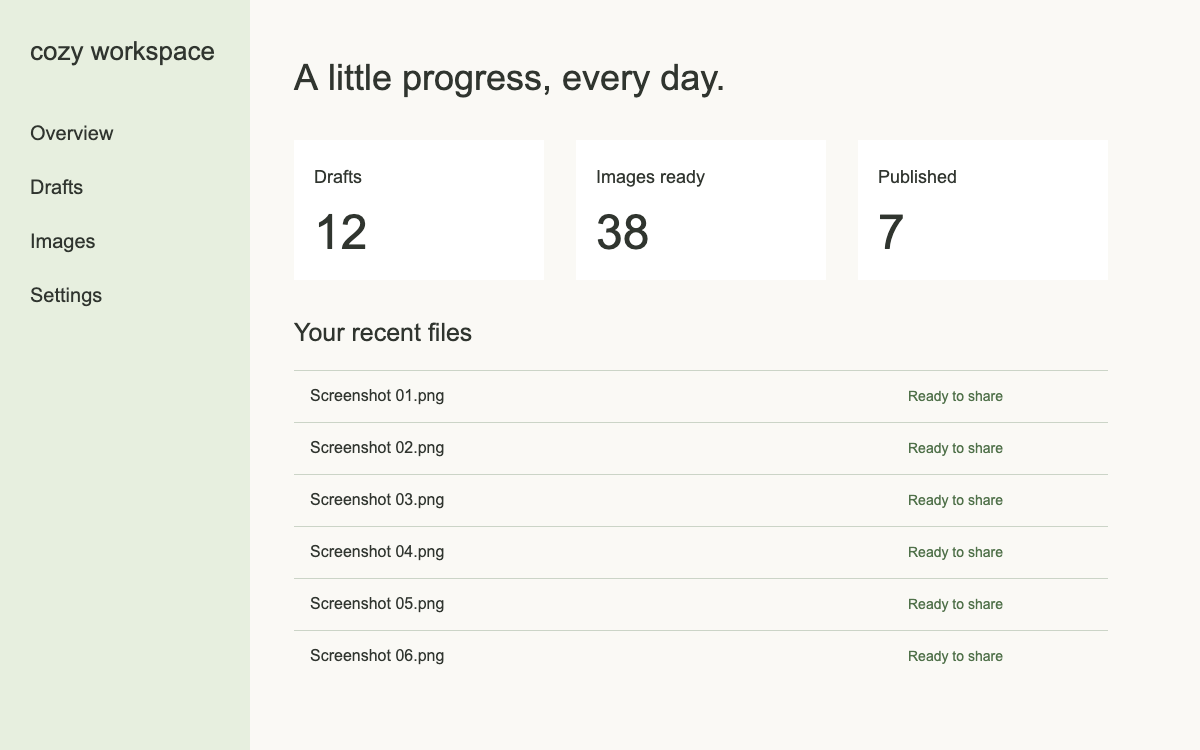
Drag to pan · Pinch or Ctrl/⌘ + scroll to zoomPinch to zoom · Drag to pan
Use + and − to zoom, arrow keys to pan, and 0 to fit the image. Preview zoom does not change your export.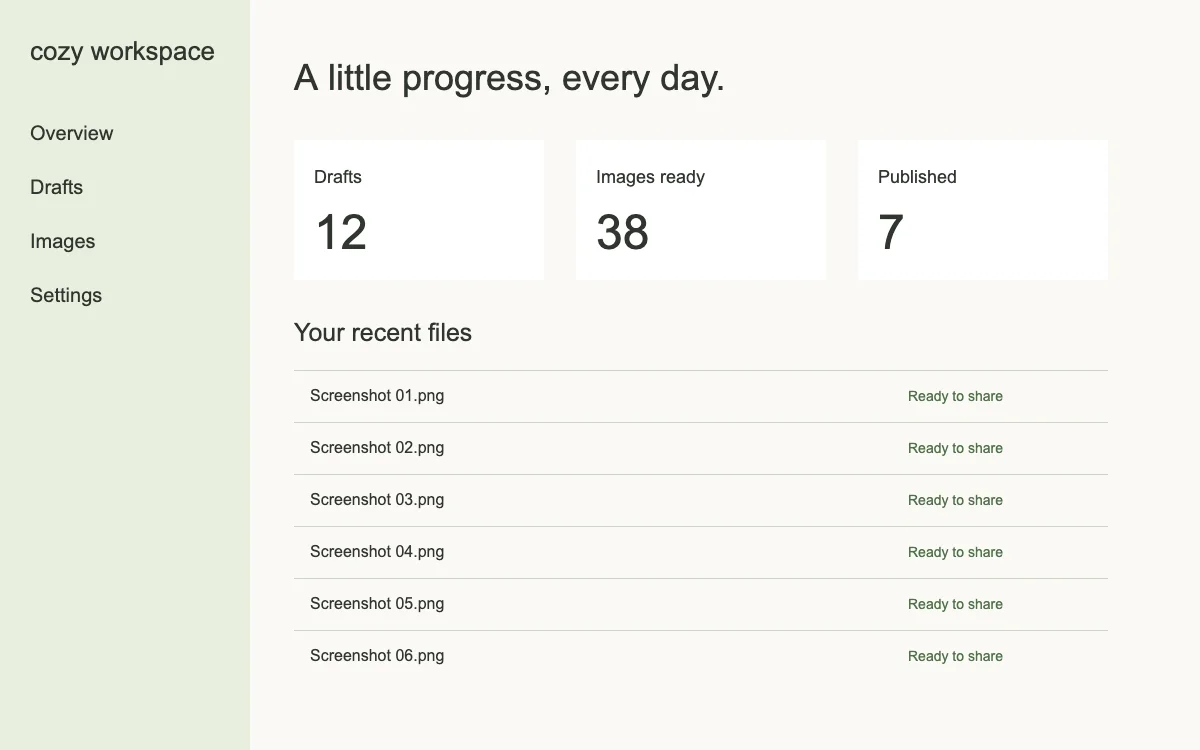
The gradient produced the biggest saving. Its PNG contains a lot of smoothly changing pixel values; the lossy WebP encoder can approximate them much more compactly. The two text-heavy samples also got smaller, but file size alone does not tell us whether their text is good enough for your use.
This is not an equal-quality comparison. PNG is lossless here. WebP at this setting is lossy, meaning it can change pixels. Three examples cannot establish an average saving for screenshots in general, and an optimized PNG from another encoder may be smaller than ours.
What to look at before downloading
Switch between the two formats above and zoom in. In particular, check:
- The coloured punctuation in the code sample. Fine coloured edges can soften even when large text looks fine.
- The small “Ready to share” labels in the interface.
- Smooth transitions in the poster. Look for visible bands rather than a continuous gradient.
Judge the image at its intended display size as well. An imperfection visible at 400% may be irrelevant in a small preview; a blurred label in a help article is a problem.
Choose a format for the job
Keep PNG for a master copy, pixel-level comparisons, or text that must stay exact. It is also a sensible fallback if the app receiving your image will not accept WebP.
Try WebP for web pages and previews when the saved file looks good enough. It supports transparency, so a transparent background alone is not a reason to avoid it. WebP supports both lossless and lossy encoding, but the browser quality slider used in this test is not a dedicated lossless switch. Setting it to 100 does not establish that your export is lossless. See Google's WebP format documentation for the distinction.
Try it with your screenshot
- Open the image converter and add your PNG.
- Select WebP as an output format. Start at quality 85 and leave the dimensions unchanged.
- Convert, zoom into the result and compare it with your original.
- Increase quality if small details suffer. If the result still looks wrong, keep the PNG.
If the image will only be displayed at half its current width, resizing it may save more than changing the format. Do that deliberately: a smaller image cannot retain the same detail.
How this comparison was made
Tested on 28 September 2026 in Chrome 153.0.8010.53 on macOS, using the same conversion function as the tool. The fixtures were drawn on a browser canvas with system fonts. PNG conversion did not use palette reduction; WebP used the browser encoder with a quality argument of 0.85.
Download the measurements, including exact byte counts and file hashes. Browser encoders and fonts can differ, so rerunning the example on another system may produce different sizes. The percentages above describe these particular downloads, not a promise about yours.