Watermark a batch, then move the mark on individual images
One placement does not suit every photo. Share the style and make room for each subject.
A bottom-right watermark can look fine on a landscape image and cover the subject in a portrait. Start with a shared placement, then move the watermark only on the images that need it. You do not need to export the batch one file at a time.
The Watermark images tool separates shared style from per-image position. Text, colour, size and opacity apply across the batch; placement can differ for each image and for each text or logo layer.
Set a starting position, then review each image
Download the landscape sample and portrait sample. These are simple illustrations made for this example, not customer photos. Upload both together.


- Keep Text selected and enter
Cozy demoin Watermark text. - Set Color to
#30352F. Leave Opacity at 65, Size at 22, Angle at 0 and Margin at 4. - In Position, select the bottom-right point. Choose Apply position to all to establish the batch's starting position.
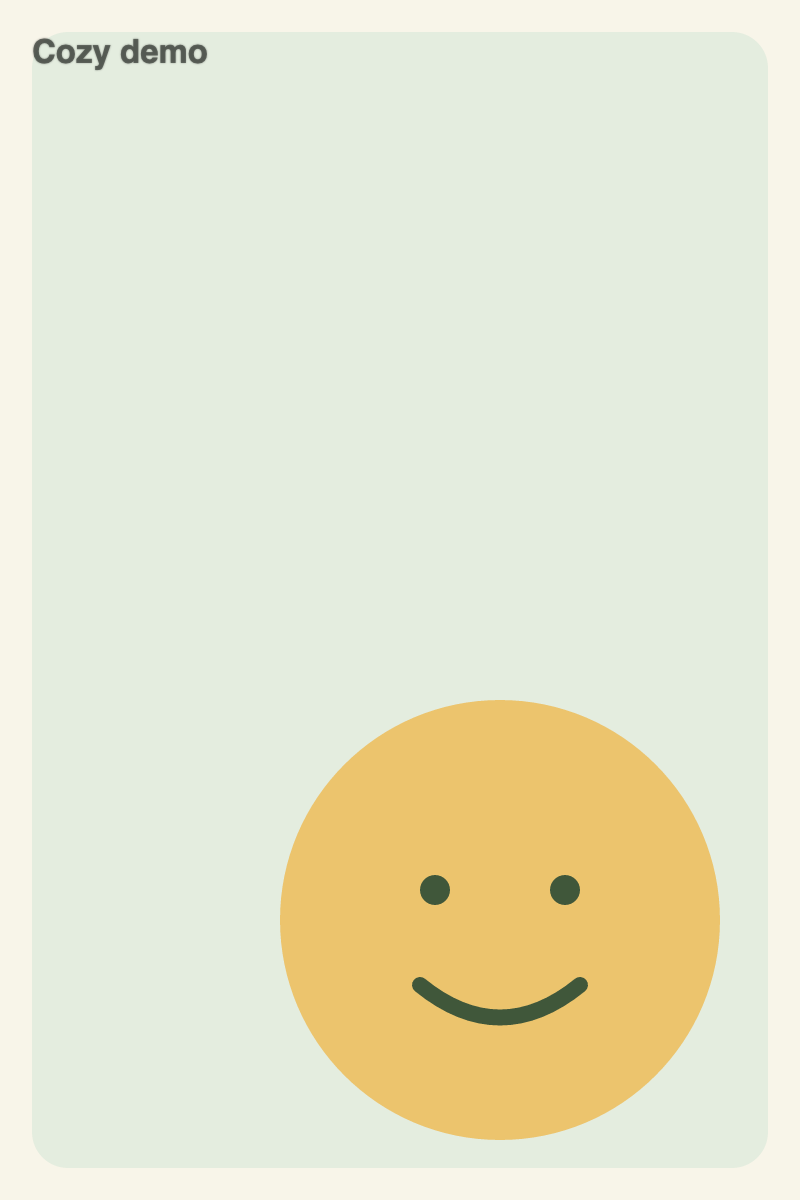
- Select the portrait thumbnail. Its subject sits near the bottom, so select the top-left point or drag the watermark there.
- Check the preview for both files. The portrait should show Custom position in its position view; the landscape keeps its original placement. After you export, Result lets you inspect the finished images.
Here is the landscape export:

Compare the landscape result with the portrait result. The outputs retain the source sizes: 1200 × 800 and 800 × 1200. The same relative size setting produces different pixel sizes; inspect both rather than expecting an identical pixel-width mark.
Know which controls affect the batch
| Action | What changes |
|---|---|
| Drag the watermark or choose a position point | The selected layer on this image |
| Change opacity, size, colour or angle | The shared style for that layer across the batch |
| Apply position to all | The selected layer's position on every image, replacing its individual placements |
| Reset position | The selected layer on this image returns to the shared position |
Set the batch's starting position before making individual adjustments. Clicking Apply position to all afterwards deliberately replaces those exceptions for the selected layer.
On a phone, use Adjust to reach the settings, then return to Preview to check the placement. The position points are easier than dragging when you only want a corner. Files lets you switch between images.
Add text and a logo without moving both together
Choose Text + logo, upload your logo, and use Edit layer to switch between them. A PNG with transparent surroundings avoids putting a solid rectangle over the image.
Each layer has its own placement and opacity. You might put the logo at the top-left and a short credit at the bottom-right, then move just the credit on one image. Check the result after changing layers; moving text does not automatically move the logo beside it.
Save style stores settings in this browser. It does not store the logo file, and it is not a saved project containing every image's custom placement. Loading a style resets the current per-image placement exceptions, so do it before fine-tuning the batch.
Repeating marks need a different adjustment
With Repeat across image enabled, drag the pattern to shift it on the selected image. Horizontal offset and Vertical offset offer the same kind of placement control. Use Horizontal spacing, Vertical spacing, and Grid or Staggered to change the shared pattern's layout.
Preview small text and faces before exporting. Download selected saves one result; Download all packages the batch. Without another chained operation, the tool exports PNG copies and keeps your originals unchanged.
We exported the two samples through the tool on 15 October 2026 and checked the placement rules with its shared functions. The results record includes settings and file hashes. A visible watermark can provide a credit or discourage casual reuse; these examples do not test resistance to removal or establish ownership.